

DIY Brake Pad Replacement for Audi 2026: Step-by-Step Guide
Table of Contents
- Tools and Equipment You'll Need
- Safety Precautions and Vehicle Preparation
- Removing the Wheel and Brake Caliper
- Replacing Brake Pads and Inspecting Rotors
- Choosing and Installing Audi OEM Brake Pads Online
- How to Reset Electronic Parking Brake Audi After Pad Replacement
- Brake Pad Wear Sensor Replacement Audi and Bedding-In Process
- Conclusion
Last Updated: August 28, 2026
Tools and Equipment You'll Need
Replacing brake pads on your 2026 Audi requires specific tools and safety equipment. Gather a jack and jack stands rated for your vehicle's weight, a lug wrench, a torque wrench for reinstalling bolts to 80-100 ft-lbs, and a brake caliper tool or C-clamp to compress the caliper piston. You'll also need brake cleaner, safety glasses, work gloves, and anti-seize lubricant for caliper hardware.
If your 2026 model has an electronic parking brake system, a diagnostic scan tool like VCDS or OBD11 is critical to enter service mode and reset brake pad wear sensors after installation. Without it, your brake warning light may remain illuminated even after successful pad replacement.
At EUROPEAN OEM PARTS, we recommend keeping genuine OEM brake pads and rotors on hand before you begin. Aftermarket alternatives may not fit precisely or provide the same stopping power your Audi was engineered to deliver.
Safety Precautions and Vehicle Preparation
Park your vehicle on a level, solid surface away from traffic. Engage the parking brake and place wheel chocks behind the rear wheels to prevent rolling. Put on safety glasses immediately, brake dust irritates eyes and skin.
Never work under a vehicle supported only by a jack. After raising the vehicle, immediately place jack stands rated for at least 1.5 times your vehicle's weight beneath the frame. The jack is for lifting only; the stands provide actual support.
For 2026 Audi models with electronic parking brake systems, turn off the engine and disconnect the negative battery terminal. Wait at least 15 minutes to allow the system to fully discharge. This prevents accidental brake activation and protects electronic components from electrical damage.
Locate your brake fluid reservoir before you start. You'll need to monitor fluid levels throughout the job, especially if you plan to bleed the brakes or flush the brake fluid.
Removing the Wheel and Brake Caliper
Loosen the lug bolts on the wheel you're servicing while the vehicle is still on the ground in a star pattern to avoid warping the rotor. Raise the vehicle with the jack, position jack stands beneath the frame, and lower the vehicle onto them. Remove the lug bolts completely and pull the wheel straight toward you.
Locate the caliper mounting bolts on the back side of the caliper and remove them. The caliper will slide away from the rotor. Do not let the caliper hang by the brake line; support it with a wire or bungee cord attached to the suspension to avoid damaging the line.
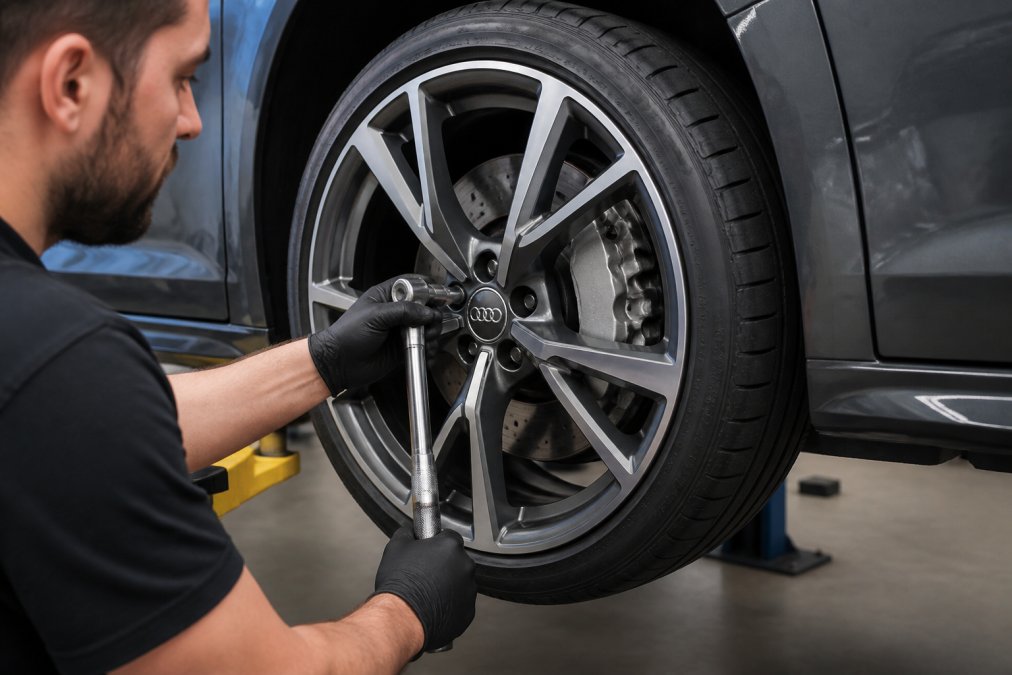
Inspect the brake rotor for scoring, cracks, or excessive wear. Light surface scoring is normal, but deep grooves or cracks indicate rotor replacement is necessary. Measure rotor thickness with a micrometer if you have one, most Audi rotors have a minimum thickness specification around 0.315 inches. If your rotor is below this thickness or shows damage, replace it alongside your brake pads.
Clean the rotor and surrounding area with brake cleaner to remove brake dust and see any damage clearly.
Replacing Brake Pads and Inspecting Rotors
With the caliper removed and supported safely, locate the pad clips holding the brake pads in place and carefully remove them. Slide the old brake pads out of the carrier and keep the clips for reinstallation.
Compress the caliper piston back into its bore using a brake caliper tool or C-clamp, turning slowly to create space for the thicker new pads. Do not force it, if resistance increases significantly, stop and check for obstructions.
Inspect the caliper bore for corrosion or damage. Light surface corrosion is normal, but deep pitting may indicate the piston is compromised. Install your new brake pads into the carrier, ensuring they seat fully and correctly. Apply a thin layer of anti-seize lubricant to the back of each pad where it contacts the caliper piston. Reinstall the pad clips in the same configuration as the originals.
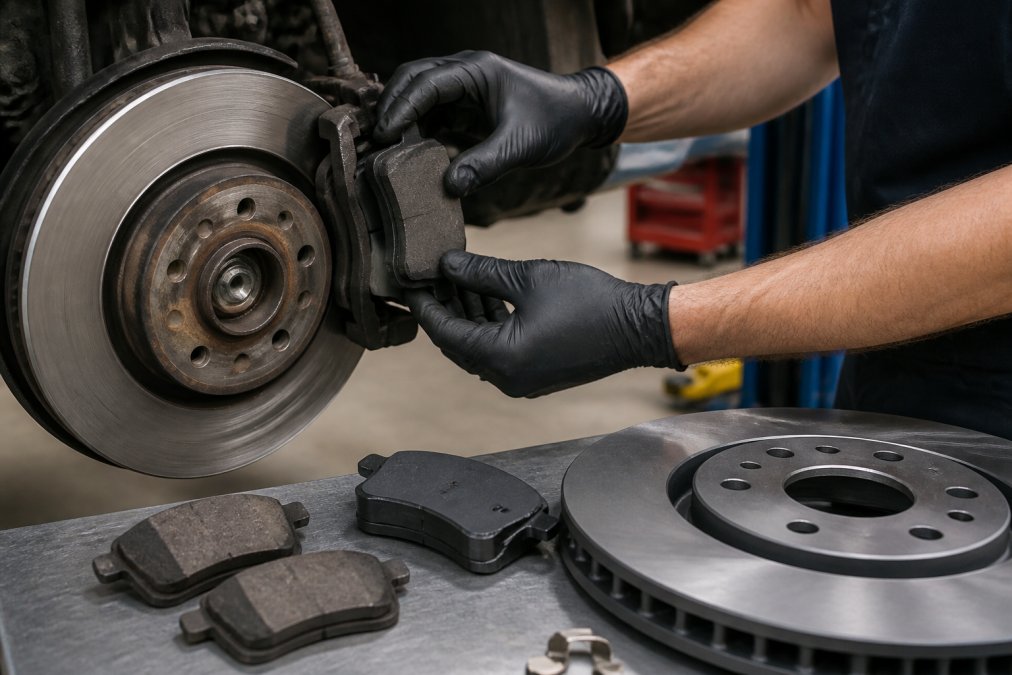
Inspect the rotor for scoring, which appears as fine grooves. Light scoring is acceptable, but deep grooves or visible cracks require rotor replacement. Check for rotor warping by spinning the rotor and watching for lateral movement. Measure rotor thickness at several points and compare to the manufacturer's minimum specification. If any measurement falls below the minimum, replace the rotor.
Choosing and Installing Audi OEM Brake Pads Online
Selecting the correct brake pad for your 2026 Audi is critical for safety and performance. OEM brake pads are engineered specifically for your vehicle's braking system, providing optimal stopping power and durability. When shopping online, verify the exact part number for your specific Audi model and year, as different trim levels and configurations use different pads.
OEM brake pads come with all necessary hardware, pad clips, shims, and lubricants. Aftermarket kits often omit these components, forcing you to reuse old hardware that may be worn or damaged. European OEM Parts provides genuine Audi brake pad sets with fast nationwide shipping, ensuring you receive the correct components for your 2026 model.
Check whether your 2026 Audi has a brake pad wear sensor. If your vehicle has this sensor, purchase pads with the sensor pre-installed or purchase a separate replacement sensor. Installing pads without addressing the sensor will leave your warning light on indefinitely.
Slide the new pads into the caliper carrier, ensuring they're fully seated and the pad clips are secure. Apply a thin layer of brake lubricant to the back of each pad and to the caliper hardware contact points. Do not apply lubricant to the friction surface of the pads.
Reinstall the caliper by sliding it over the rotor and aligning the mounting holes. Insert the caliper bolts and tighten them to the manufacturer's specification, typically 25-30 ft-lbs for Audi vehicles. Use your torque wrench to ensure proper tightness.
How to Reset Electronic Parking Brake Audi After Pad Replacement
The 2026 Audi electronic parking brake system requires specific reset procedures after brake pad replacement. After installing new pads and reinstalling the caliper, reconnect your negative battery terminal. Wait 30 seconds, then reconnect it again to clear temporary faults.
Using your VCDS or OBD11 diagnostic tool, connect to your vehicle's OBD port. Navigate to the Brake System module and select "Service Functions." Look for the option to "Reset Brake Pad Wear Indicator" or "Reset Brake Service."
Ensure your vehicle is parked on level ground with the engine off. The system will run a calibration sequence that may take several minutes. Do not interrupt this process or start the engine until it completes.
Once the reset completes successfully, your diagnostic tool will display a confirmation message. The brake warning light should extinguish. Start your engine and verify that no brake-related warning lights remain illuminated.
Brake Pad Wear Sensor Replacement Audi and Bedding-In Process
Your 2026 Audi likely has a brake pad wear sensor that triggers your brake warning light when pads wear below a safe thickness. If the sensor is integrated into the pad, you've already replaced it with your new pads. If it's a separate component, locate it on the caliper, disconnect the electrical connector, and remove the mounting bolt. Install your new sensor in the same location, ensuring the electrical connector seats fully.
After completing pad installation, your new pads require a bedding-in process. Drive your vehicle at moderate speed (around 30 mph) and apply gentle braking pressure. Perform 5-10 gentle stops over about one mile. Drive for several minutes at normal speed without braking to allow the system to cool. Repeat this process for the next 50-100 miles of driving.
Avoid extended downhill driving or heavy braking during the first 100 miles. Normal city driving with light to moderate braking is ideal for the bedding-in period. Monitor your brake fluid level during this process, new pads are thicker than worn pads, and the caliper piston moves outward slightly to accommodate them. Top off the fluid if necessary, using only the brake fluid specified in your owner's manual.
Conclusion
DIY brake pad replacement on your 2026 Audi is achievable with the right tools, knowledge, and patience. The process involves removing your wheel and caliper, installing new pads, resetting your electronic parking brake system, and properly bedding in your new components. Each step requires attention to detail, improper torque specifications, skipped resets, or rushed bedding-in procedures can compromise your braking system's safety and performance.
When you're ready to source your brake pads and sensors, European OEM Parts stocks genuine Audi components with fast nationwide shipping and expert support. Our team understands the specific requirements of 2026 Audi brake systems and can help you identify the exact parts your vehicle needs.
Audi official maintenance guidelines
Society of Automotive Engineers brake system standards
National Highway Traffic Safety Administration vehicle maintenance resources
| Component | Inspection Criterion | Action Required |
|---|---|---|
| Brake Pads | Thickness below 0.25 inches | Replace immediately |
| Brake Rotor | Scoring deeper than light surface marks | Replace with pads |
| Caliper Piston | Corrosion or pitting visible | Service or replace caliper |
| Pad Clips | Bent, broken, or missing | Replace with new pads |
| Wear Sensor | Non-functional or damaged | Replace with new pads |
| Brake Fluid | Discolored or contaminated | Flush and refill system |
Frequently Asked Questions
Q: Can you change Audi brake pads yourself?
A: Yes, you can replace Audi brake pads yourself if you have the right tools, a safe workspace, and mechanical confidence. The process involves removing the wheel, unbolting the brake caliper, and sliding out the old pads. However, 2026 Audi models with electronic parking brake systems require entering service mode via a diagnostic scan tool (VCDS or OBD11) before and after the job. If you lack experience with brake work or lack access to a diagnostic tool, a professional service is a safer choice.
Q: Do I need special tools for 2026 Audi brake pad replacement?
A: You'll need a jack, jack stands, lug wrench, socket set, and a torque wrench to properly reinstall lug bolts to specification. For 2026 models with electronic parking brake systems, a diagnostic scan tool like VCDS or OBD11 is essential to enter and exit service mode. You'll also want brake cleaner, anti-seize lubricant, and safety glasses. A caliper piston tool helps compress the piston, though a C-clamp works in a pinch. Genuine brake hardware like caliper springs and pad clips should be replaced if worn.
Q: How do I know when my Audi brake pads need replacing?
A: Most Audi models have a brake pad wear sensor that triggers a warning light on the dashboard when pad thickness drops to the minimum safe level. You can also visually inspect pad thickness through the wheel; pads should be at least 2-3 millimeters thick. Listen for a high-pitched squealing sound when braking, which signals worn pads. If you notice reduced braking response, longer stopping distances, or brake dust accumulation on the wheel, pads are likely worn and should be inspected immediately.
Q: Is it necessary to replace rotors when changing Audi brake pads?
A: Not always. Inspect the rotor for scoring, warping, or excessive wear before deciding. If the rotor surface is smooth and thickness is above the minimum specification (check your owner's manual), you can reuse it. However, if you notice deep scoring, rotor runout, or uneven wear patterns, replacement is necessary for safe braking. Bedding-in new pads on an old rotor is acceptable, but pairing new pads with new rotors ensures optimal performance and longevity.
This article was written using GrandRanker